How to Make Recipe Cards: A Step-by-Step Guide for Food Lovers
#### IntroductionIn the world of culinary arts, having a collection of well-organized recipe cards can be a game changer. Whether you’re a seasoned chef or……
#### Introduction
In the world of culinary arts, having a collection of well-organized recipe cards can be a game changer. Whether you’re a seasoned chef or a home cook looking to experiment, knowing how to make recipe cards can streamline your cooking process and enhance your culinary skills. This guide will walk you through the essentials of creating your own personalized recipe cards, making it easy to keep track of your favorite dishes.
#### Why Make Recipe Cards?
Recipe cards serve multiple purposes. They not only help you remember the ingredients and steps for your favorite dishes but also allow you to share your culinary creations with friends and family. Additionally, recipe cards can be a wonderful way to preserve family traditions and pass down cherished recipes through generations. By learning how to make recipe cards, you can ensure that your culinary legacy lives on.
#### Materials Needed
Before diving into the process of making recipe cards, gather the necessary materials. You will need:
- **Cardstock or index cards**: These will be the base of your recipe cards. Choose a sturdy material to ensure durability.
- **Pens or markers**: Use a variety of colors to make your cards visually appealing.
- **Ruler and pencil**: For measuring and marking lines, ensuring your cards are neat.

- **Stickers or decorative items**: To personalize your cards and make them unique.
- **Laminator (optional)**: For added durability, consider laminating your finished recipe cards.
#### Steps to Make Recipe Cards
1. **Choose Your Recipes**: Start by selecting the recipes you want to include on your cards. This could be anything from family favorites to new dishes you’ve tried.
2. **Design Your Layout**: Decide how you want to format your cards. A typical layout includes sections for the recipe name, ingredients, instructions, and cooking time. Make sure to leave space for notes or variations.
3. **Measure and Cut**: Using a ruler and pencil, measure out the dimensions for your cards. A standard size is 4x6 inches, but you can customize this to your liking. Cut the cardstock or index cards accordingly.

4. **Write Your Recipes**: Begin writing down your recipes using pens or markers. Be clear and concise, making sure to list ingredients in the order they are used. Use bullet points for easier readability.
5. **Add Personal Touches**: Use stickers, drawings, or colored markers to decorate your cards. This will not only make them visually appealing but also reflect your personality.
6. **Laminating (Optional)**: If you want your cards to last longer, consider laminating them. This will protect them from spills and wear and tear.
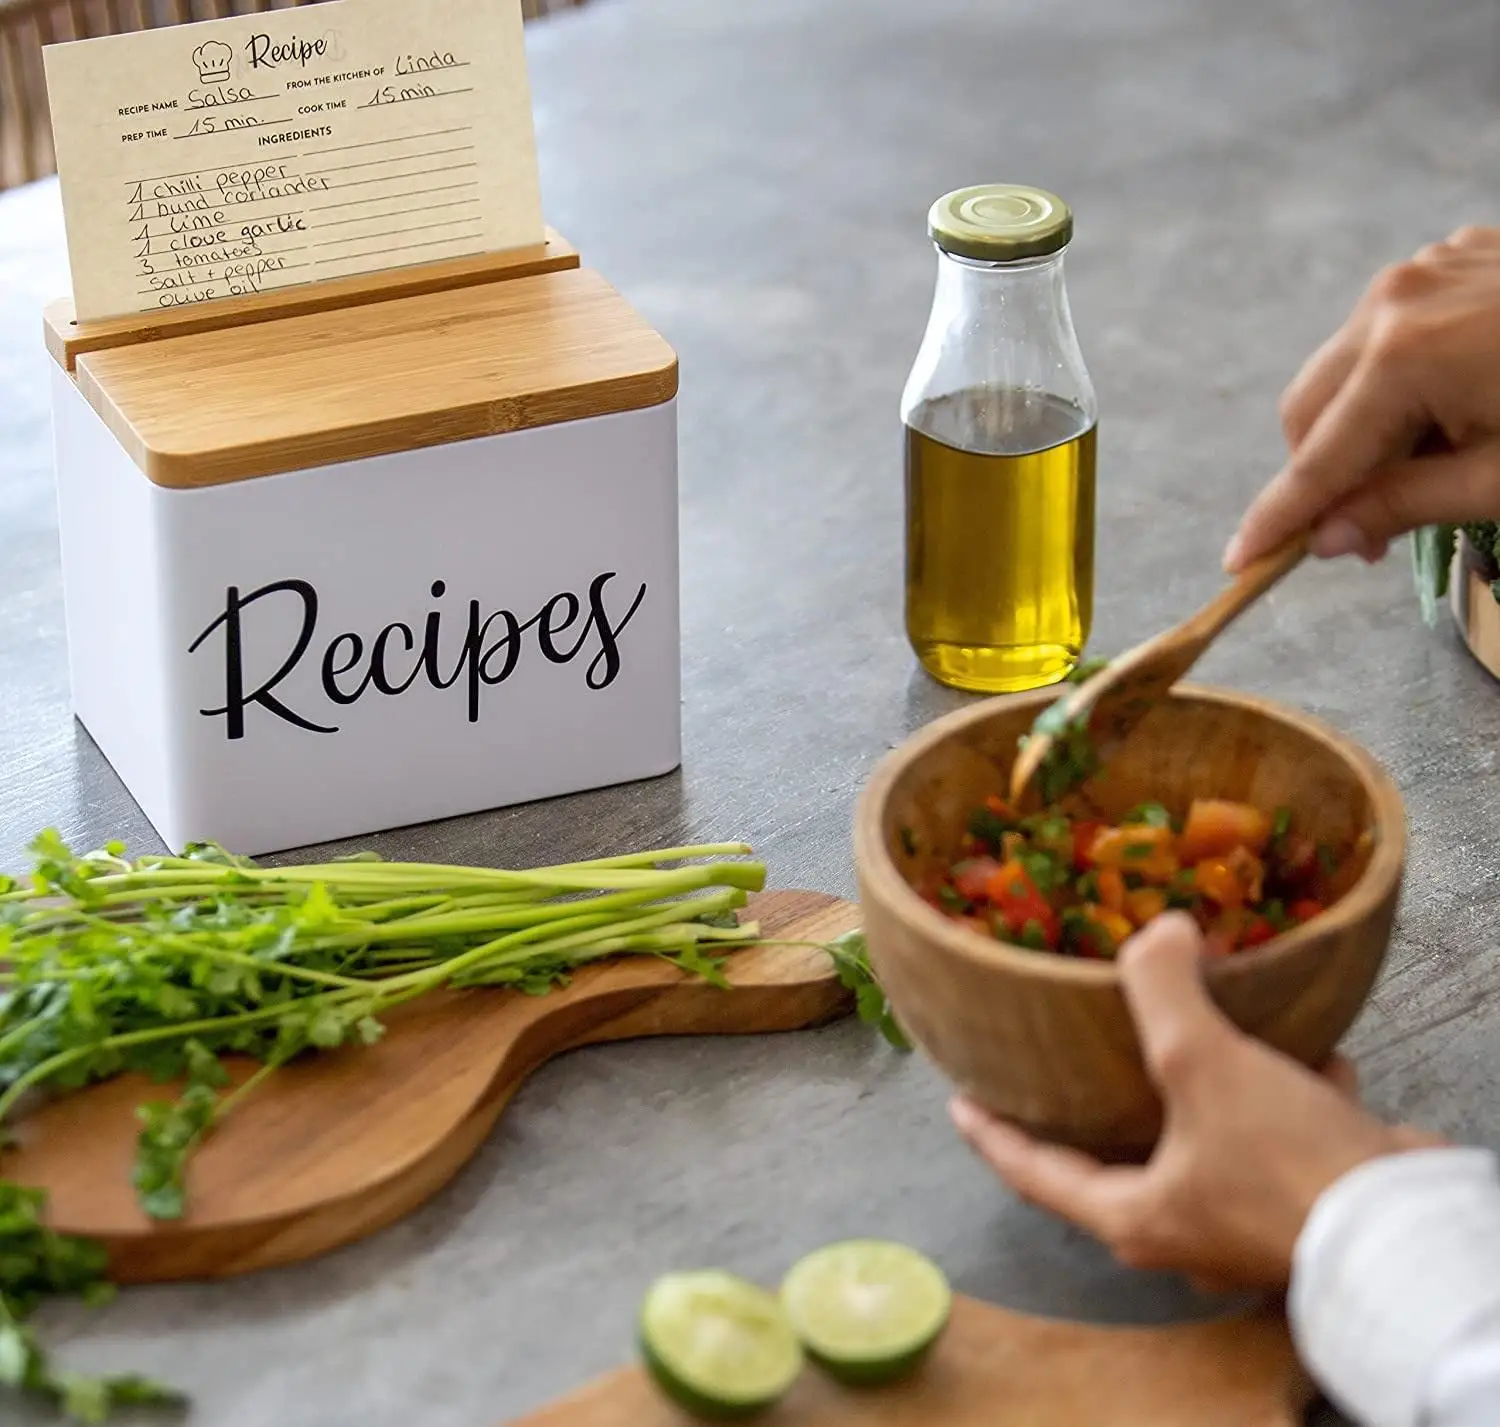
7. **Organize Your Cards**: Once completed, organize your recipe cards in a box, binder, or recipe card holder. This will make it easy to find your recipes when you need them.
#### Tips for Effective Recipe Cards
- **Keep It Simple**: Avoid overcrowding your cards with too much information. Stick to the essentials.

- **Use Clear Handwriting**: If you’re writing by hand, ensure your handwriting is legible. Consider typing the recipes if you prefer a cleaner look.
- **Include Cooking Times**: Adding preparation and cooking times will help you plan your meals better.
- **Make Copies**: If you have a favorite recipe, consider making multiple copies to share with friends or family.
#### Conclusion
Making recipe cards is a fun and rewarding activity that not only enhances your cooking experience but also allows you to create a personal touch in your kitchen. By following the steps outlined in this guide, you can create beautiful and functional recipe cards that will serve you well for years to come. So gather your materials, unleash your creativity, and start making recipe cards today!